Uncategorized
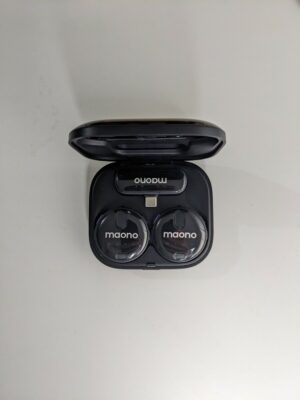
Maono WM620 Lavalier Wireless Microphone Review!
Below I will give a complete review of the Maono WM620 Lavalier Wireless Microphone. Although I was sent the microphone for free, that will not


Below I will give a complete review of the Maono WM620 Lavalier Wireless Microphone. Although I was sent the microphone for free, that will not
In the world of content creation, audio quality often makes the difference between amateur and professional productions. That’s why the Hohem MIC-01 Lavalier Microphone is
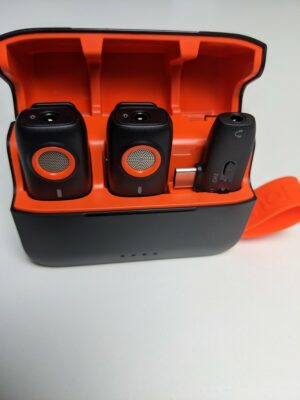
For digital content creators seeking unparalleled audio quality, the Hollyland Lark M2 Wireless Lavalier Microphone is a game-changer, effortlessly adapting to iPhones, Androids, cameras, and
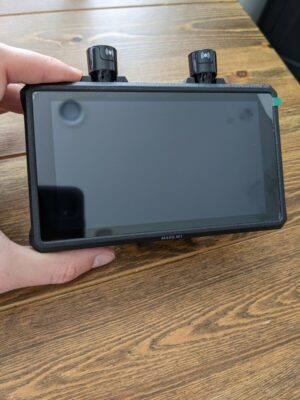
I was sent the Hollyland Mars M1 Enhanced Wireless Monitor to review, and although I received the item for free, it will not impact my
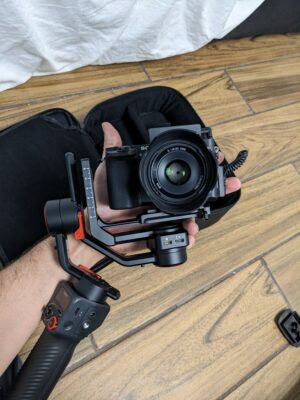
I was recently sent the Hohem iSteady MT2 Camera Gimbal to review, and although I did receive the item for free, that will not effect

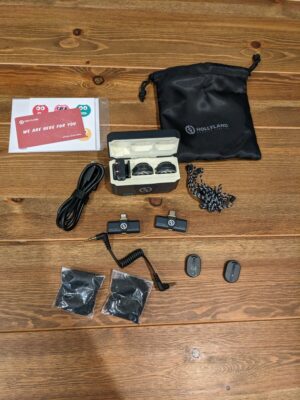
I was recently sent the Hollyland Lark Max Wireless Lavalier Microphone to review. Although the mic was sent to me for free, that will not