With the increasing popularity of video game streaming, gamers have taken over a huge part of the internet to stream their gameplay live to people around the world. Capture cards are something that makes this process hassle-free and allows streamers to better customize their streams.
This article is all about capture cards and what you can do with them.. If you want to know what capture cards are, how to use one and which capture cards I recommended then keep reading.
What Is The Purpose Of A Capture Card?
A capture card is a device that is used to capture the video input or image of one screen/device and output that video capture onto your PC. From your PC, you can then edit that video input/image using a streaming software and then broadcast it out to others using platforms such as Twitch or Youtube. Capture cards are most commonly used when streaming on console or for those who use two PCs to stream.
Before video game consoles like Playstation and Xbox allowed you to broadcast your gameplay to live streaming platforms like Twitch, you had to use a capture card to capture your gameplay, transfer that capture to your PC, and then from your PC you would stream it/broadcast it to your viewers.
However, now that gamers can stream directly from their consoles, why are they still choosing to use capture cards? And doesn’t two PCs seem a little over the top? Well let me explain why people use capture cards.
Why do You Need a Capture Card?
You will need a capture card if your device does not allow you to stream directly to streaming platforms like Twitch, Youtube, etc. You will also need a capture card if you are on console and want to add overlays or alerts to your stream.
Capture cards are most common for dual PC and console streamers. Streamers who are on console will need a capture card if they will want to make customizations to their streams such as overlays, alerts, etc.
Capture cards are also commonly used on dual PC setups where one PC captures gameplay while the other streams the gameplay.
This helps to reduce the burden that can be placed on your PC if you are both playing and streaming at the same time on one PC. This is why most big name streamers use two PCs. Some even use three!
Like I mentioned earlier, yes, you can stream straight from your Playstation or Xbox console and broadcast your gameplay straight to Twitch.
But like I just mentioned, you won’t be able to have any cool customizations on your channel if you go this route. Streaming straight from your console is pure gameplay.
Now, throw in a capture card, and now you can capture your gameplay and send it to a streaming software like StreamLabs OBS (SLOBS) where you can make all kinds of cool overlays and animations.
You don’t even need a fancy PC. I used to send my Xbox gameplay to my laptop, where I then used OBS to edit and broadcast my stream.
It’s super simple to set up and use a capture card as you will see below. So don’t stress about how complicated this all may sound. It’s really not and I’ll walk you through it. And if you are a console streamer, I highly recommend using a capture card to stream.
Adding custom overlays and alerts is what is going to make your stream unique and set it apart from other streams. Just streaming your gameplay, especially if you are new to streaming, is not a winning strategy.
There is more than likely people who are better than you at the game you are playing, so why are people going to watch your bad gameplay with your generic, boring stream. Just saying. Moving on….
If you want to stream your Nintendo Switch gameplay, then you have to use a capture card. There is currently no way for you to stream to Twitch, or anywhere else, without using a capture card. But again, don’t be alarmed, I got you covered. It’s not difficult to set one up for the Switch either. See below for more information.
Lastly, if you want to stream using dual PCs then you will need a capture card. Streaming with two PCs is what most major streamers do.
If you have a ton of people chatting, subbing and donating on your stream then that can put a major strain on your PC. Now add your gameplay to the mix and it can be difficult for your PC to manage this load effectively.
This is where the two PC or dual PC setup comes into play. Having two PCs, you can have one PC that handles all things stream related like your streaming software, broadcasting that stream out to Twitch, Youtube, etc. and the other PC focuses just on the game you are playing.
Now all you have to do is set up a capture card to capture your gameplay on your gaming PC and transfer it to your streaming PC and boom, you are jamming my friend!
Doing this will allow you to run the game that you are playing on the highest settings.
If you have started streaming, and are only using one PC, then you may have noticed that you have to reduce things like your video quality on the game you are playing in order to effectively game and stream without dropping any frames.
Using two PCs to stream will greatly help to reduce this by dividing the load between the two PCs.
If you are using one PC, then you don’t need to use a capture card. You can just run your streaming software like SLOBS in the background, with all your stream customizations, while you game.
Your streaming software will capture your gameplay and broadcast it for you and so there’s no need for a capture card.
One last thing regarding dual PC streaming, if you are choosing to do a dual PC stream, then the PC you are using for streaming doesn’t have to be anything fancy since it will only be focused on streaming.
So you can use your funds to beef up your gaming PC, and use a decent PC to stream from and you will be fine.
If you want to know which PC I recommend for streaming then check out my recommended streaming PC page here.
Do You Need A Capture Card To Stream?
So, if your device cannot stream directly to live streaming platforms like Twitch, Youtube, etc., then you will need a capture card to capture your gameplay, send it to your PC where you have your streaming software like StreamLabs OBS, and from there broadcast it to your live streaming platform like Twitch.
If you are on console, and want to make customizations to your stream, you will also need a capture card. Dual PC streamers will need capture cards too.
Below I detail how to set up capture cards for each console and PC.
How To Set Up A Capture Card On PC
Worry not, setting up a capture card on a PC is as easy as completing a few simple steps. Seriously! All you have to do is go through the procedure explained below, and you’ll be good to go within a few minutes.
This setup involves two computers. One, which is called the “gaming PC”, and the other which is called the “streaming PC”. Capture cards are of two types: internal and external.
Let’s jump into how to set up both:
External Capture Card Setup
The following setup is for an external capture card.
Here is a list of the things you will need. I provided the Amazon link to each of these if you want to check them out:
- A USB cable (if your capture card requires it)
Once you have the things above, follow these steps.
- Connect the gaming PC to the capture card – You will need an HDMI cable.
- Look for the HDMI output on the gaming PC. The graphics card should support HDMI output, so it won’t be a problem locating it. Just follow the cord from your PC to your existing monitor – it will be the same type of plug.
- Next, connect the HDMI cable into the located socket.
- Look for the IN connection on the capture card.
- Simply connect that HDMI cable into it. You’re already halfway now!
- Connect the streaming PC to the capture card.
- Now simply connect the capture card to the streaming PC (usually) via USB.
- In some cards, you might need to look for the OUT port, and then connect the card to the streaming PC with the help of an additional HDMI or USB cable, depending on your capture card.
Internal Capture Card Setup
The following setup is now for an internal capture card. ALWAYS make sure that your PC is turned off and unplugged before making any internal customizations.
- Attach the capture card to the streaming PC.
- Every internal capture card can only be installed in the streaming PC by following the manufacturer’s manual. It’s impossible for any article to guide it effectively, so you’ll need to check 2 important things.
1.1 – Check what type of cards your existing motherboard has room for. The pin configuration of the slots will be needed. A great way to do this is simply take a picture of your motherboard on your phone. You can reference the picture if needed to help identify the right kind of card to fit your PC.
1.2 – Check that the new capture card is a configuration that fits with your existing motherboard.
- Attaching a capture card on the motherboard is just like installing RAM, a graphics card, or any other PCI component. Basic hardware knowledge is a must though. Always make sure your computer is turned off, AND unplugged before attempting any repairs or upgrades of this kind.
- Once you’re done installing the capture card on the motherboard of the streaming PC by following the manufacturer’s manual, follow the next steps.
- Connect the gaming PC and streaming PC.
- Look for the HDMI output on the gaming PC. Connect the HDMI cable to it. Now look for the IN port of the capture card in the streaming PC. Connect the other end of the HDMI cable to it.
That’s it. You’re done! Aside from setting up the internet and all your settings, of course.
Once you’re done connecting the PCs, the last part is to attach the monitors separately to both the PCs. This step is common for internal and external capture cards. The following steps are again common for both types of capture cards.
- Once you’re done installing the hardware, the next step is to get started with the software part.
- If you are new to streaming, then I recommend that you use StreamLabs OBS. It’s really easy to navigate and to use and is what is preferred by most streamers.
- There are several other softwares to choose from as well. Each has its own user-interface, and so it would be way too hard to describe each of them here, unless you feel like reading a thousand page book (not likely).
Make sure to take some time and learn how to use the software that you choose to stream with. Each software is unique and has some great features available to you. You just have to do a little research.
Don’t forget to take a look at the information we’ve got about the best extensions to use for your stream on Twitch. There are some awesome FREE extensions you simply must know about!
Now that we have discussed setting up capture cards on PC, let’s go ahead and jump into setting up capture cards on the different consoles.
How To Set Up A Capture Card On A Nintendo Switch
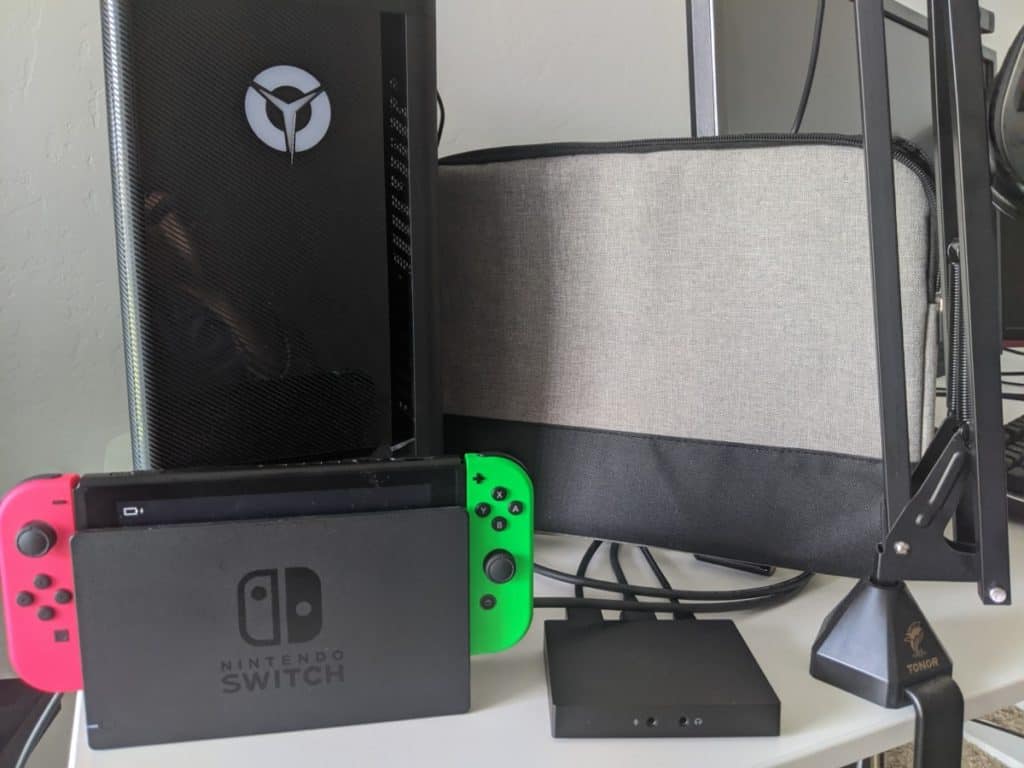
The ‘Switch’ is short for the Nintendo Switch, just in case you didn’t already know that. Setting up a capture card on Nintendo Switch is far easier than setting up one on a PC.
But, before you proceed, make sure that you have all the required items on the list below (I posted the Amazon link to each item in case you want to check them out):
- Nintendo Switch, of course
- Streaming PC or laptop (an average hardware configuration will be more than enough.).
- A Capture Card that’s attachable to a USB 3.0/3.1 port. (This means you’ll require an external capture card). Alternatively, you can also opt for the internal capture card. Both installations are described above.
- A USB cable (You may need a USB cable depending on the capture card you get).
Assembly of Components
Once you have all the hardware needed, the next step will be to assemble all of them so you can start streaming your Nintendo Switch gameplay to streaming platforms like Twitch and Yoututbe. Follow these steps, and you’ll be done in a few minutes.
The following steps are for the external capture card:
- The Switch doesn’t have any video output. For this, you’ll need to connect your Nintendo Switch to the dock.
- This dock has an HDMI output. Look for the port, and connect your HDMI cable with it.
- Now look for the IN port on the capture card, and connect the other end of the HDMI cable.
- Next, connect the OUT port on the capture card to your display (TV or monitor).
- Finally, connect the capture card to the streaming PC via USB.
Now all you have to do is work on the software, just like you would do as if you were on PC. This means custom overlays, alerts, animations, etc. which can all be done on StreamLabs OBS.
Setting up an internal capture card on the Nintendo Switch won’t take more than 15 minutes if you know what you’re doing.
The following steps are for the internal capture card:
- Connect your Nintendo Switch to the dock.
- Install the capture card in the motherboard of the streaming PC. It is just like installing RAM or any other chip on it. For this, you’ll need to follow the manufacturer’s instructions in the manual.
- Now, connect the HDMI cable to the Switch dock. It has an HDMI output port.
- Finally, look for the IN port of the capture card. Connect the HDMI cable in it.
- That’s it. Your hardware setup is complete!
Start using the capture card with the help of any suitable software, just like you’d do in the case of a PC only setup. It might be possible that you face some technical issues despite following the above guidelines.
If that’s the case, make sure that the Nintendo Switch and the capture cards are both compatible. If you use the capture card that I linked above then you will be fine.
How To Set Up A Capture Card On Xbox
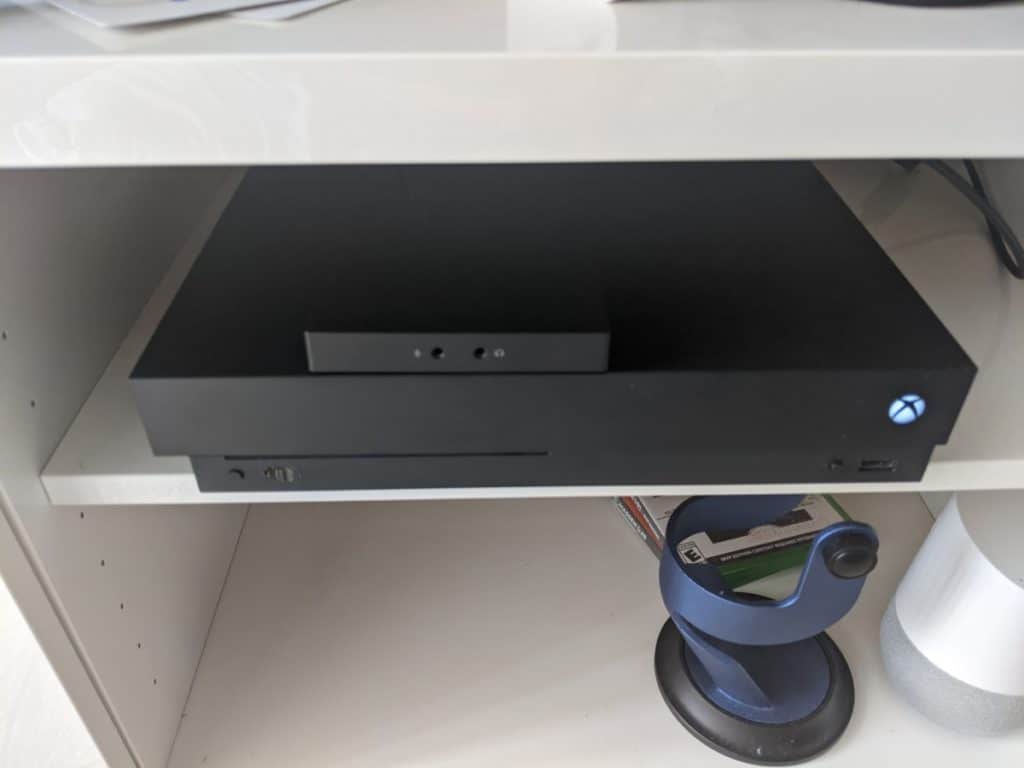
Setting up a capture card on the Xbox is easier than the previous two methods described.
To set up a capture card on Xbox, you will need the following items:
- Streaming PC or laptop (you don’t need anything super fancy).
- USB cable (You may need a USB cable depending on the capture card you get).
After you have the hardware listed above, the next steps are easy and will have you and your capture card up and running in no time.
The following guide is for external capture cards:
- Connect the Xbox console with the capture card.
- Look for the HDMI output on the Xbox console. Connect the HDMI cable.
- Now look for the IN port in the capture card and connect your HDMI cable.
- Connect the capture card to the display.
- Finally, look for the OUT port on the capture card.
- Take another HDMI cable, and connect the capture card with the display (TV or monitor) via HDMI.
- You can use a TV or a monitor that supports HDMI connections.
- Let’s take a look at the Xbox audio. In the HDMI audio options (this setting will be found in the Xbox console settings list) make sure that the Xbox console is set to use Stereo uncompressed audio.
Using an internal capture card, in this case, is possible but senseless at the same time. Because, that’d require an additional streaming PC, which doesn’t make a lot of sense since your Xbox is doing the gameplay and your PC is doing the streaming already.
And with this, you’re all set!
I wanted to note that you can also stream straight from your Xbox to Twitch using the Twitch app. However, if you do this, you will not be able to add any cool alerts or overlays. You will only be able to stream your gameplay and voice audio streaming to Twitch this way.
If this is your only option, then streaming something is better than streaming nothing at all. But if you want to have a nice, quality stream with alerts, overlays, etc. then you will need to connect to a PC so you can do these kinds of cool customizations in your streaming software.
Hence, the need for a capture card.
An Issue that may Arise When Using a Capture Card With the Xbox
Below is an issue that may arise while you have your capture card connected. This issue is not common, so don’t worry, this is just a ‘what if’ scenario.
Since the Xbox uses HDCP encryption, it is impossible for you to watch a purchased movie or streaming service such as Netflix if a capture card is connected with it.
For this, you’ll have to detach the card and restart the streaming service.
If you’re unable to capture anything due to encryption, the capture card may be useless for this purpose.
To try and fix this problem, follow the steps below:
- Cycle off your Xbox console.
- Switch ON the console.
- Hold down the power button on your console for a few seconds.
- You’ll hear a chime sound, and the console will power down.
- Switch your console ON, and by now, the HDCP should have been cleared.
- That’s it. You can now go back to capturing without any HDCP encryption worries!
How To Set Up A Capture Card On PlayStation
PlayStation supports capture cards for the same reason as other consoles, to be able to send your capture to your PC so you can better customize your stream. This section talks about the steps that you should follow to set up a capture card on your PlayStation console.
This setup is very similar to the Xbox setup, but still make sure to thoroughly go through the entire process. Most capture cards connect to the PlayStation with the help of an HDMI cable.
Here’s what else you will need for this setup to work:
- Streaming PC or laptop (Again, you don’t need anything fancy here).
- USB Cable (some capture cards require a USB cable).
Before starting with the setup, make sure to follow the steps below:
- Connect the PlayStation 4 console directly to the TV or monitor via HDMI without any capture card, for now.
- Go to Settings->System-> and then turn off Enable HDCP.
- For the software related part, you can download and install the Elgato Game Capture HD software or something similar.
The reason for doing this is because HDCP encryption may cause the same issues that could happen with the Xbox One console.
External Capture Card Setup – Playstation
Now let’s begin the setup! This guide is for the external capture cards:
- Connect your console with the capture card
- All you have to do is look for the HDMI output port in the PlayStation console.
- Connect the HDMI cable in it.
- Now look for the IN port in the capture card.
- Simply connect both the gadgets with the HDMI cable.
- Connect the capture card with your monitor.
- Now take another HDMI cable, and connect it to the HDMI OUT port of the capture card.
- Connect the capture card with a TV or a monitor with that HDMI cable.
- Alternatively, you can also connect the capture card with the computer via USB cable. In that case, don’t use the second HDMI cable.
If you don’t disable HDCP encryption as per the steps above, then you’ll definitely encounter some issues such as flashy screen, or black screen during the capturing process.
Also, you won’t be able to enjoy video streaming services such as Hulu, Netflix, etc. with the capture card still connected. So make sure to disable it.
Does A Capture Card Cause Lag?
A capture card can cause lag if the load on your CPU is too great. However, if you have a good PC, then using a capture card should not be an issue for you.
Many people believe that adding additional hardware can possibly slow down your system, and there may be some truth to this. Here are some reasons why your capture card might make your system lag:
- A capture card can slow down a streaming computer. The load on the CPU can be too much and cause your computer to overheat.. It’s very important that you install a good cooling system to overcome this lag issue.
- A capture card that’s installed on an already slow or an average machine will further lower its performance.
- A capture card connected to a USB port may cause lag.
Now that we have talked about how to set up your capture card, the last step for you is to choose a capture card that works for you.
Best Capture Cards Out There
If you’re all fired up to start capturing your gameplay, and sharing it on streaming platforms, then you want a good capture card.
This section is about a couple of the capture cards that I recommend. If you want a more detailed breakdown of which capture cards I feel are the best, then check out my recommended capture cards page here.
Best Overall Capture Card

If price is not a factor for you, and you just want the best of the best, then go for the Elgato Game Capture 4K60 S+, which you can see here on Amazon. This capture card captures in 4k at 60 fps and you can record your gameplay to an SD card.
Again, if price is not a factor in you choosing which capture card you want, then this is the capture card that I would get.
A Really Good Capture Card at a Fair Price

If you are looking for a good capture card, at a reasonable price, then the Elgato Game Capture HD60 S+, which you can check out on Amazon here, is what I recommend. It has the El Gato quality and captures in 1080p at 60 fps. I really like this capture card for the price.
Budget Friendly Capture Card
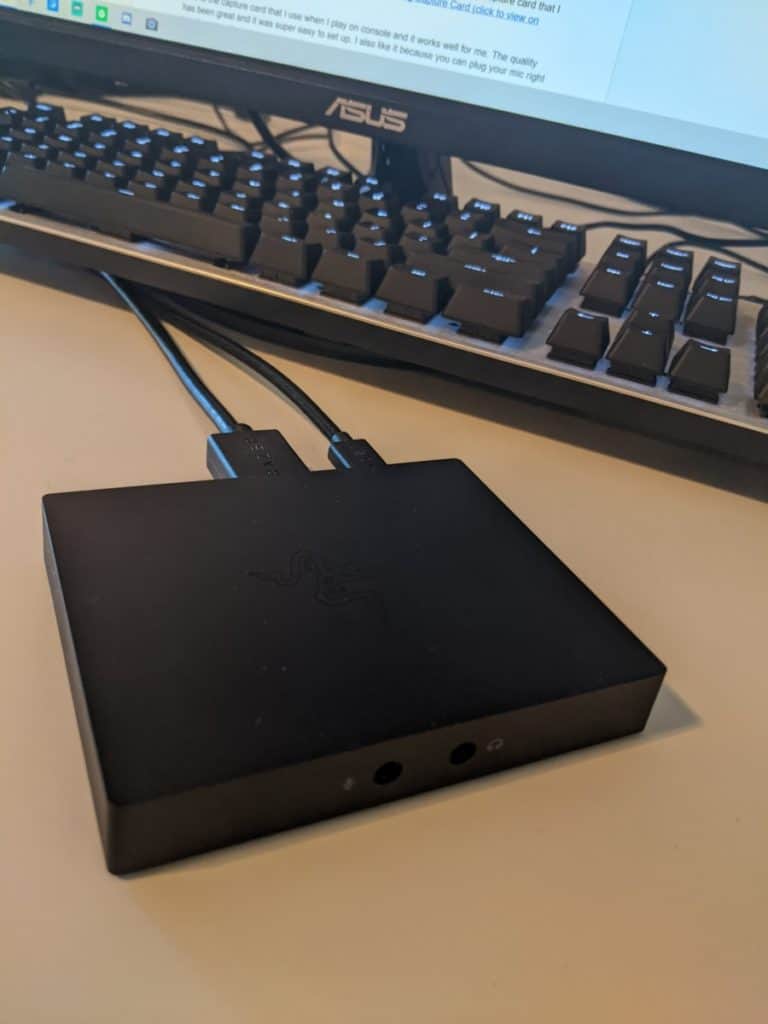
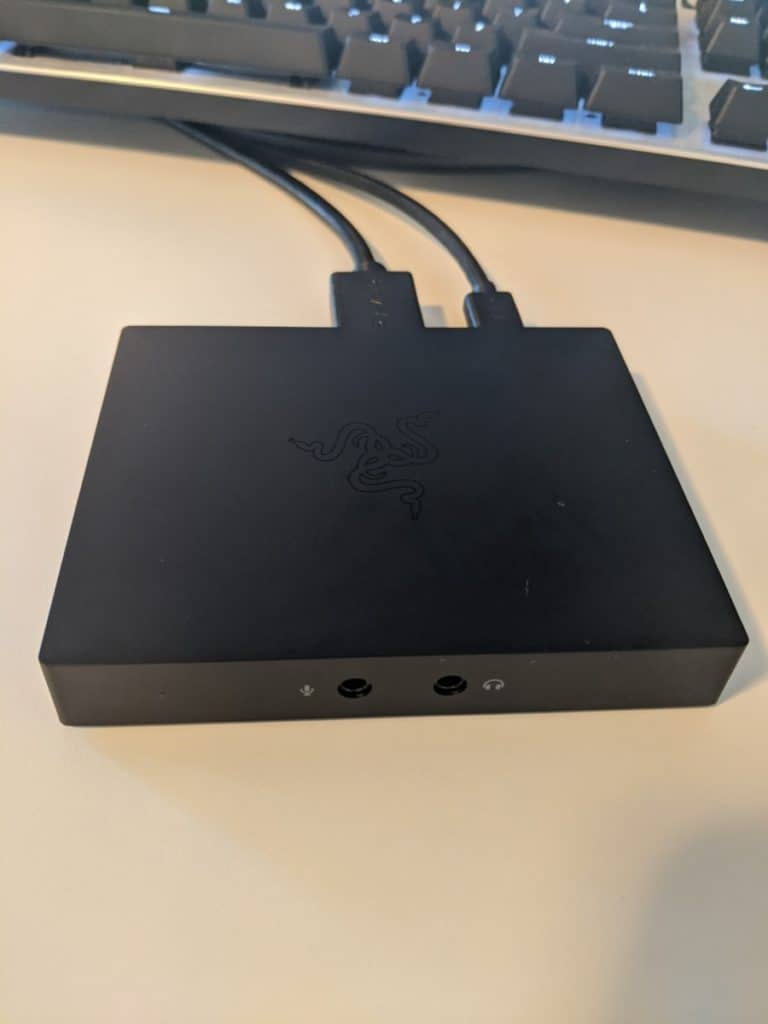
If your funds are a little tight, and you need something that is friendly for your budget, then I recommend the Razer Ripsaw HD Game Streaming Capture Card, which you can view here on Amazon.
This is the capture card that I use when I stream on console and it works great. It captures in 1080p at 60fps which is more than enough for most videogames, especially if you are streaming on console.
This was a brief summary of a few of the capture cards that I recommend. If you want a more in depth breakdown then check out my page here.
As always, if you have any questions or just want to hang with me, stop by my Twitch channel here and say what’s up!
For even more streaming tips and how-to content check out my Youtube channel here. And if you want to check out my streams then stop by my Twitch channel here.
Capture cards can really enhance your streams and so it is best to get a quality capture card that will make your streams look crisp and clean.
Capture cards are easy to set up and so you don’t need to fret about using them. And for you console streamers, capture cards are the way for you to get those crazy cool overlays. Ahhh yeah!
Good luck streaming my friends!
Eric streams 3 days a week on Twitch and uploads weekly to Youtube under the moniker, StreamersPlaybook. He loves gaming, PCs, and anything else related to tech. He’s the founder of the website StreamersPlaybook and loves helping people answer their streaming, gaming, and PC questions.

How to Start Streaming on Twitch? | A Complete Guide - Streamers Playbook
Saturday 24th of October 2020
[…] The capture card that I recommend is the El Gato HD60 S+ Game Capture Card (click to see it on Amazon). This capture card offers great quality at a fair price. If you want more information on how a capture card works, as well as how to set one up, then check out this article I wrote about capture cards by clicking here. […]
How to Start Streaming on Twitch? - Streamers Playbook
Thursday 22nd of October 2020
[…] The capture card that I recommend is the El Gato HD60 S+ Game Capture Card (click to see it on Amazon). This capture card offers great quality at a fair price. If you want more information on how a capture card works, as well as how to set one up, then check out this article I wrote about capture cards by clicking here. […]